Authentication
Authentication allows to decide who can see the notebooks. You can define a list of users or groups that can see your notebooks. There is a share parameter in the YAML configuration that is used to specify the users who can see the notebook.
Authentication is Pro feature
Authentication is a Pro feature. The commercial license provides Pro features, dedicated support and allows white-labelilng. Please check our webiste to learn more about commercial license.
Example YAML configuration
Below is the example YAML configuration with share option. It is set to private which means only authenticated users can see the notebook.
title: Some title
description: Some app description
share: private
params:
    input: text
    label: Please enter text
Public notebooks
By default all notebooks are public, which means that anyone on the website can view and execute the notebook. It is set in the YAML as share: public.
Private notebooks
If you would like to show and allow execution of notebooks only to authenticated users please set the share: private.
How to create user accounts?
Only administrator can create users accounts. Please check the Admin Panel documentation for details on how to create accounts.
Share notebook with selected users
You can share a notebook only with selected users. You need to specify the list of users in the share paramters. The user names should be comma separated. Example: share: username_1, username_3, username_5.
Share notebook with a group
There is an option to share a notebook with a group of users. Please set the share parameter to the group name, for exmaple share: groupname. You can set several groups, separated with commas. What is more you can mix group names with user names. For example: share: groupname_1, groupname_2, username_1, username_2.
How to create groups?
Only administrator can create groups. Please check the Admin Panel documentation for details on how to create groups and memberships.
Login view
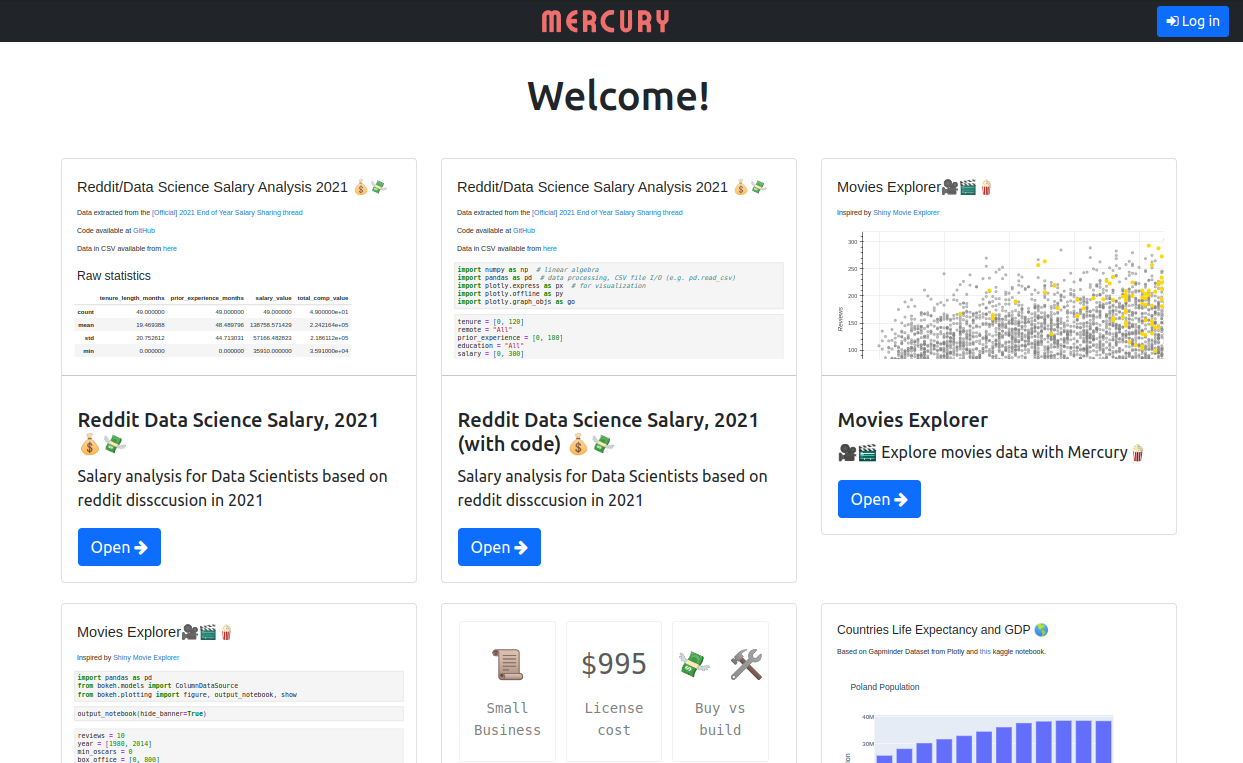
Below are screenshot from Mercury with Pro features. The Log in button is available at the top.
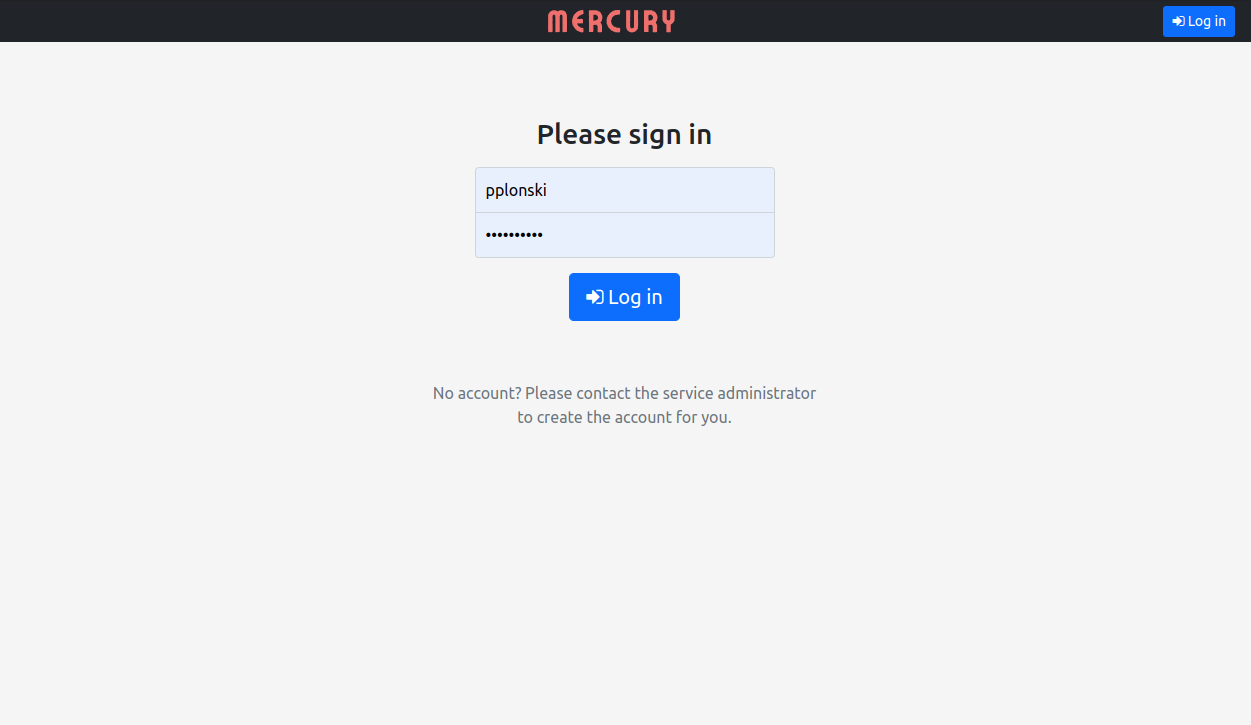
After clicking the Login the user is redirected to the log in view. It looks like in the screenshot below:
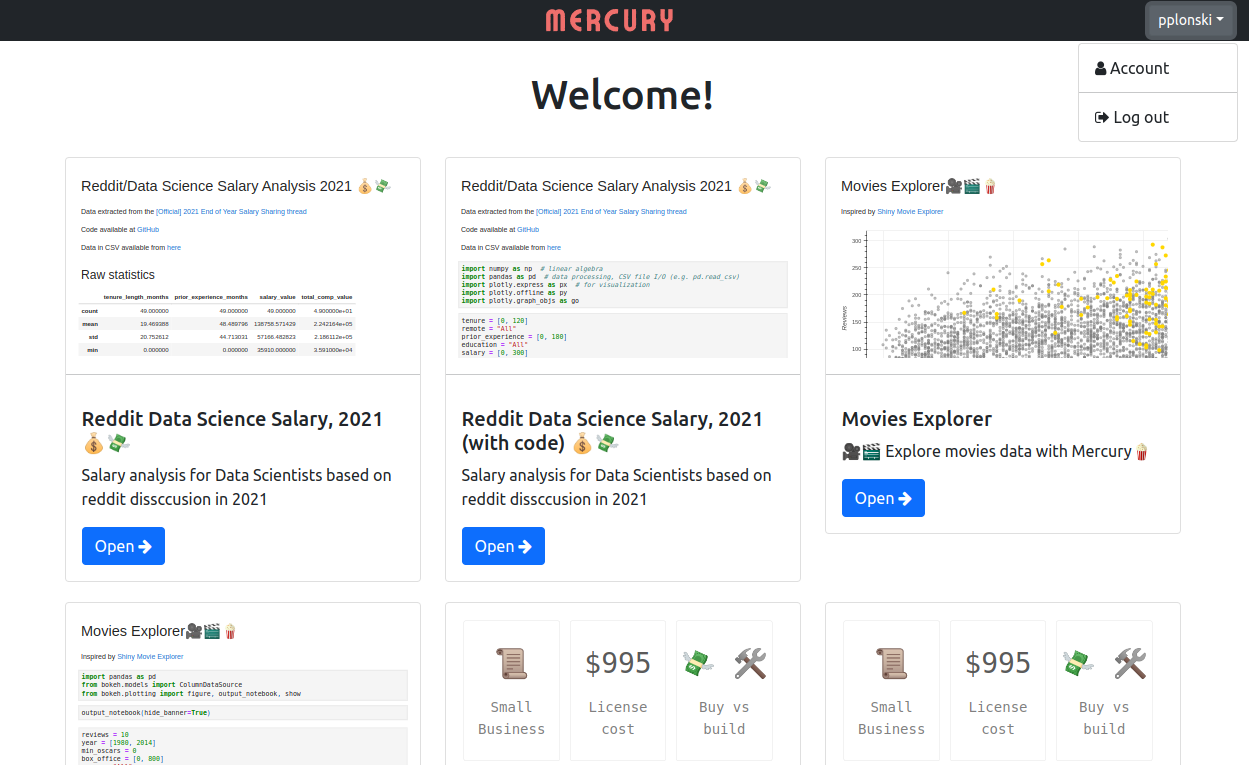
After successfull log in, the user is redirected to the main view. In the top right corner, there is a button with user name. After clicking, user can go to account information or log out.
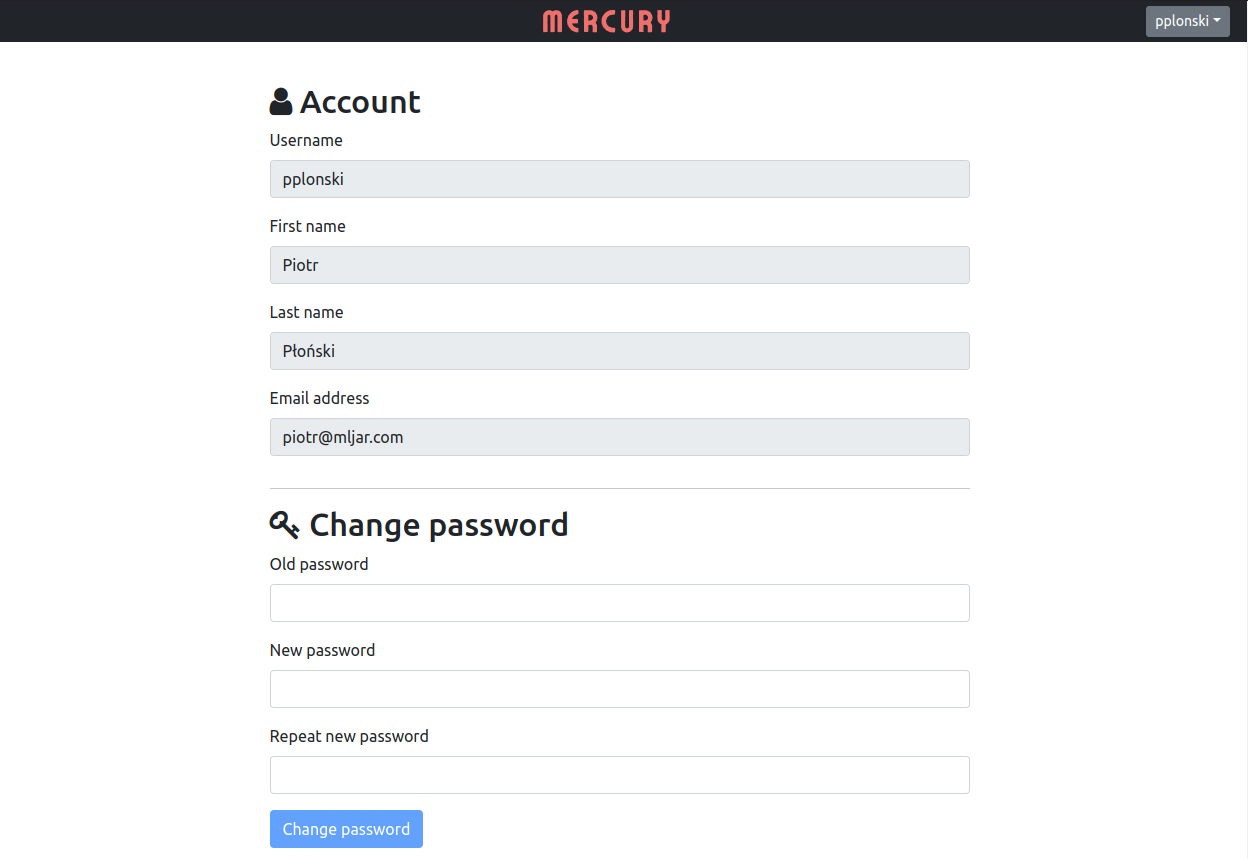
The view with user account information: